Are you setting up a sewing kit? Or considering what tools might make your practice easier?
Sewing can lead us into a dark hole of consuming purposeless, plastic items when ordinary things will do the job. Plus the more tools you have, the more tools there are to misplace and or store.
Here is my list to help refine your tool kit, manage the chaos and hone your sewing practice.
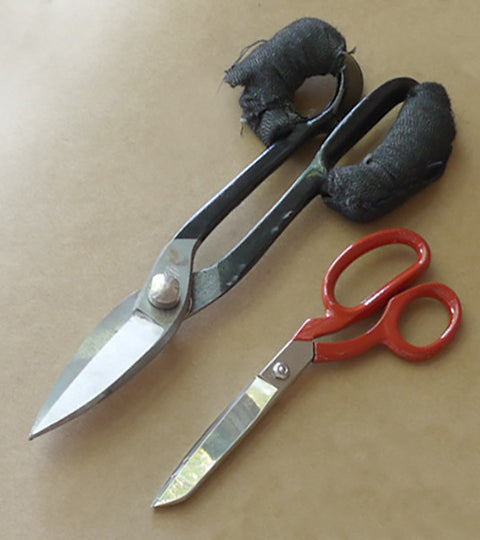
1. SCISSORS.
Procure a pair that is both comfortable and sharp. And threaten to stab anyone who goes near them!
Beautiful old school shears like those pictured below made me feel like the real deal but gave me RSI!
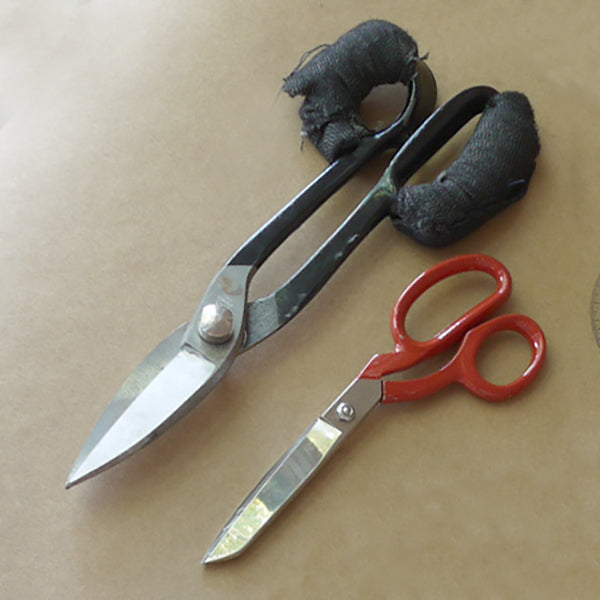
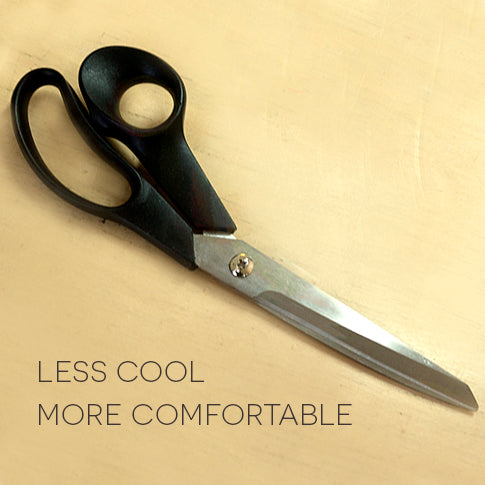
Now I have some plastic handled scissors that fit my child sized hands, they are light in weight and cause less pain. Less cool, more comfortable.
Spending money on nice scissors is worth it, buying second hand is another great way to go. If you find a pair of comfortable pre-used scissors they can always be sharpened, just be sure to check for any chips in the blade. All scissors will get blunt at some stage. Find a service that will do it and I can guarantee they will feel amazing when they come back home.
I wasn’t always a believer in the "not-using-scissors-on-paper" theory. How could fibre be worse than paper? But it's true. Paper has a mineral content in it that dulls the metal.
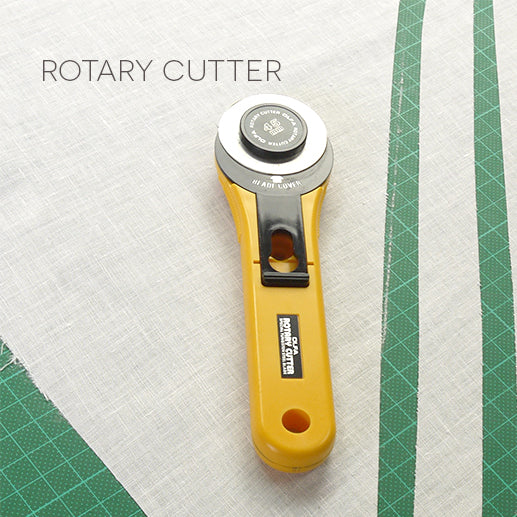
2. ROTARY CUTTERS AND CUTTING MATS
Rotary cutters are non-essential items but they are pretty awesome as they help achieve the smoothest cutting possible. They make cutting silks, knits and bias strips so much easier. They aren’t super cheap and you need a supply of replacement blades and a decent sized cutting mat. Go jumbo with your mat choice if you can. I have two AO sized mats side by side and that feels really luxurious. The blades go blunt quickly but their cut is so slick and saves plenty of time - totally worth it if you are a regular stitcher.
3. MASKING TAPE AND DISPENSER
Masking tape is my main tool in the sewing room. I love it. For cutting, I tape patterns directly to my fabric. No pins ever again, thank you very much.
Label your cut pieces with the masking tape - what they are and which side up if it’s not already apparent. Low quality masking tape is good. It is often more transparent in case you stick over pattern markings and is less sticky, good for peeling off your fabric when finished. A heavy tape dispenser is another excellent sewing room addition. Doubling as a general weight and pressing clapper.
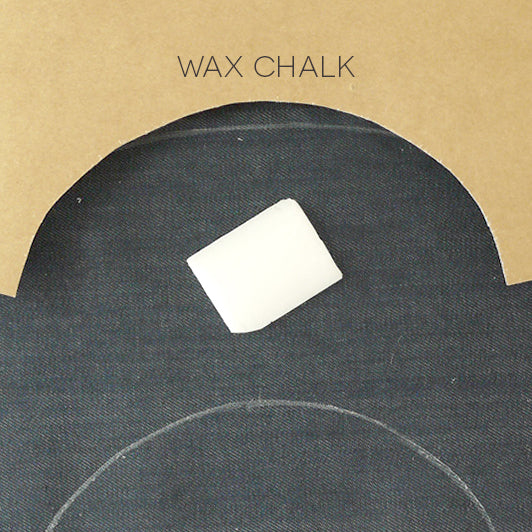
4. WAX CHALK.
I hate normal tailor's chalk - the texture alone makes me wince, let alone it’s crumbly nature and tendency to drag on the fabric. Sorry tailor's chalk! But I am quite fond of wax chalk. It has the texture of soap and glides on the fabric with minimal dragging unlike chalk pencils and other markers that require pressure to make their mark and result in fabric movement.
Most brands iron off and vary in opacity. It's not a haberdashery standard and you might need to do a web search to track some down. I get mine from a fashion industry wholesaler that has a shop front open to the public. It’s very affordable and lasts a long time. I have seen factory machinists use whittled cakes of soap with a similar effect, it's less visible but cheap and easy to get.
5. WAXED CARBON PAPER AND TRACING WHEEL
I only discovered waxed, carbon paper in recent years and think it is the best!
I have never seen it used in the industry so had not known of the wonders for most of my sewing life. You sandwich the carbon wax-coated paper face down on fabric and place your pattern on top to add a weight. Using a blunt-tipped tracing wheel, roll over the pattern lines to leave a wax imprint on your fabric. The rolling of the tracing wheel doesn't disturb the paper or drag the fabric out of place.
This is a great technique to use with PDF‘s that are multi-sized and that you don’t wish to cut up. It is especially useful for marking darts and other mark points. If you are cutting in two layers, place the carbon paper on your surface with the waxy side and copy through both layers. Mark points by making little X’s over the point because a single dot won’t show up. No tailors tacks needed, ever! Who wants to sew those? The wax will wash off.
The tracing wheel needs to have blunt tips, not the really sharp kind meant for cardboard. Using the the wheel alone will often leave an impression in a plain smooth fabric. Be aware that the patterns will get perforated after several uses. If you wish to reuse the pattern more than twice, it is best to trace it off.

6. WEIGHTS
No need to buy sewing weights. Rocks, cans of beans and tape dispensers will do the job perfectly well.
7. SPACE
Have you got a flat surface to work on? A clean floor will do. Make sure nothing will snag or dirty the fabric and allow some space to move around your work. Cutting towards yourself is probably best left for the double jointed.
8. TIME
Always give yourself a generous amount of time. There is no point in rushing your projects or punishing yourself for not getting your job done faster. Chill and snip.
1 Comment
I’m always learning from you. Great list!